Getting Started
Welcome to MyD3 APIs! This guide will help you quickly get up and running with our powerful REST APIs. Whether you’re a seasoned developer or just starting out, we’ve got you covered.
What are our API's?
Data#3’s APIs provide seamless access to essential functionalities, allowing you to integrate your systems, automate processes, and retrieve critical data. From retrieving invoices to querying your managed assets, our APIs empower you to build efficient and robust solutions.
How to use this guide
In this document, you’ll find step-by-step instructions, best practices, and practical examples. If you’re ready to dive in, let’s get started!
Prerequisites
Before you dive into integrating with our APIs, make sure you’ve completed the following steps:
1. Register with MyD3 Identity:
Visit MyD3 Identity and hit the “Register Now” button to create an account.
Be sure to register under your enterprise email address (the one that you use to log into your company systems) – this will ensure that you can use the same account to log into MyD3.
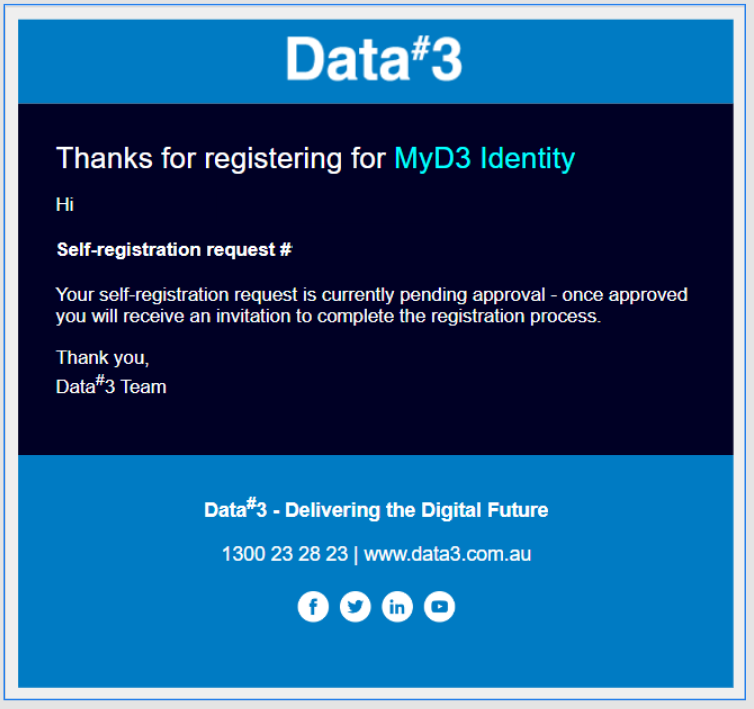
During the onboarding process, you will receive two automated emails. For your peace of mind, we've included samples below to verify that these communications are indeed from Data#3.
Self-Registration Request Notification
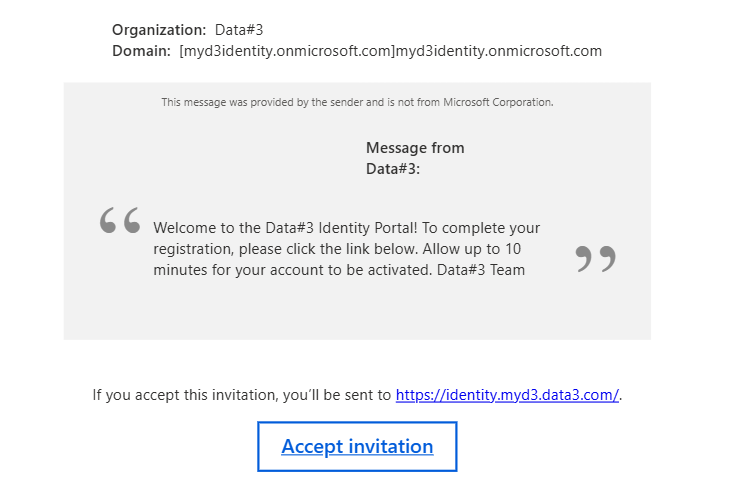
Invitation to Accept Notification
2. Install Postman:
Postman is a powerful tool for testing and interacting with APIs. If you don’t already have it, you can download it for free from their website.
If you haven’t used it before, explore its features and learn how to create requests, handle responses, and manage collections. There’s a great introduction in the Postman Learning Center.
It’s also helpful if you have a basic understanding of REST APIs. REST APIs enable systems to communicate over the internet using standard HTTP methods. They operate on resources represented by URLs, allowing clients (like your application) to make requests and receive data in response. These APIs are stateless, meaning each request contains all necessary information.
If you’re unfamiliar then you can explore the MDN Web Docs Glossary on REST. It provides additional insights into RESTful services and their adherence to constraints.
Getting Access
To access our API endpoints, you'll need to authenticate your requests. This involves creating an API Key on MyD3 Identity then using it to obtain an accessToken (via an OAuth Client Credential flow) which must be included on your request headers.
Follow the authentication guidelines provided in our documentation to securely authenticate your requests and gain access to our services.
Creating an API key
1. Log into the MyD3 Identity Portal:
Visit MyD3 Identity and log in using your credentials. If you don't have an account yet, you'll need to sign up first.
To create an API Key, you must have either the “Customer Admin” or the “API Key Manager” permission assigned in MyD3 Identity.
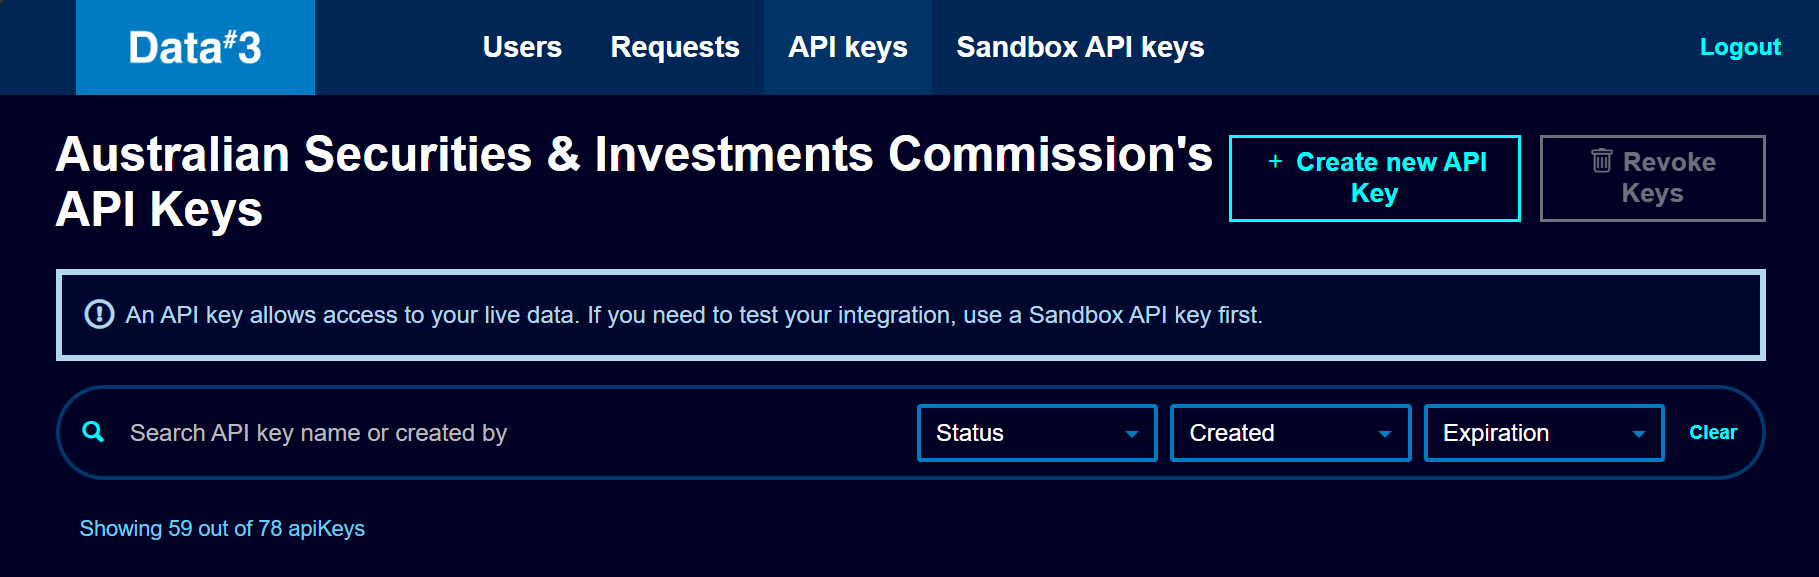
2. Choose the Environment:
Upon logging in, you'll find two tabs: "API Keys" and "Sandbox API Keys." Select the appropriate tab based on whether you intend to use the API key in a production environment or for testing in a sandbox environment. A Sandbox API Key allows you to make requests without being concerned about impacting production.

3. Create a New API Key:
After selecting the desired tab, locate and click the "Create new API Key" button. This action will open a dialog where you can specify the details of your new API key.
4. Provide API Key Details:
In the dialog, you'll be prompted to provide a display name for your API key. Choose a name that helps you identify the purpose or usage of this key. Additionally, select an expiry date for the key. Note that the expiry date cannot be further than twelve months in the future.
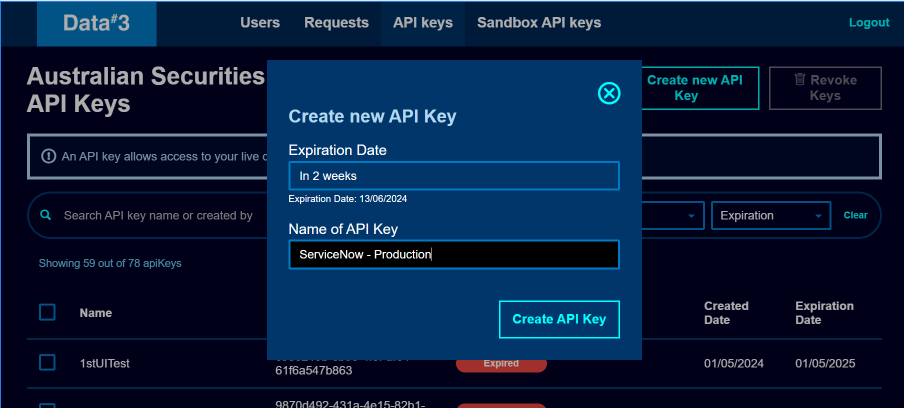
5. Confirm and Retrieve Credentials:
Once you've provided the necessary details, click on the "Create API Key" button to confirm. A confirmation dialog will appear, displaying both the Client ID and Client Secret associated with your new API key.
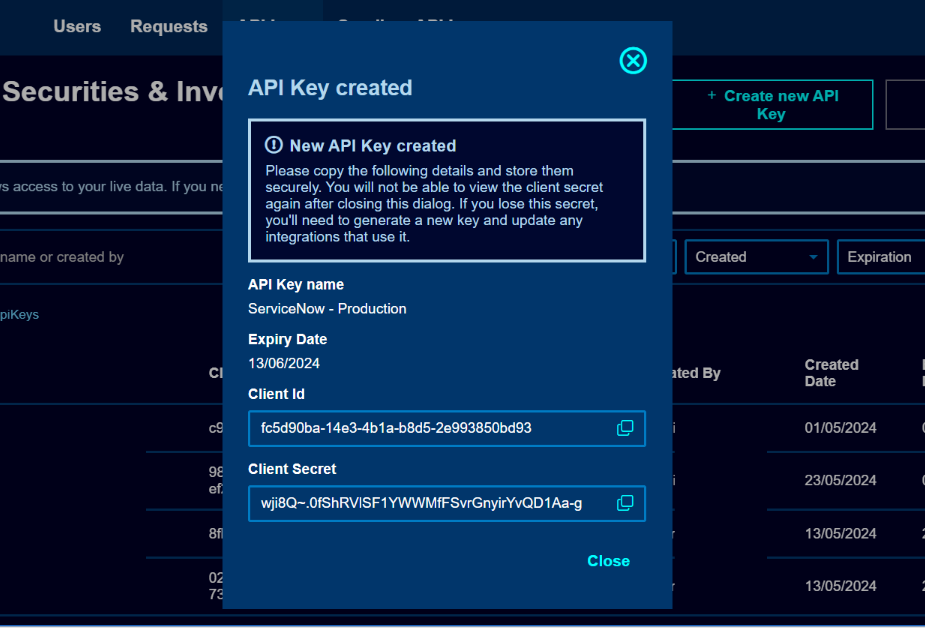
Important: Copy both the Client ID and Client Secret and store them securely. The Client ID and Client Secret are credentials that will provide access to your data and should be stored/transmitted carefully. Please note that for security reasons Data#3 does not store the Client Secret – if you lose it, we cannot recover it and you will need to create a new API Key.
6. Review Your API Keys:
After confirming your new API key, return to the API Keys tab to review the list of your existing keys. Ensure that your newly created key is listed correctly and ready for use.
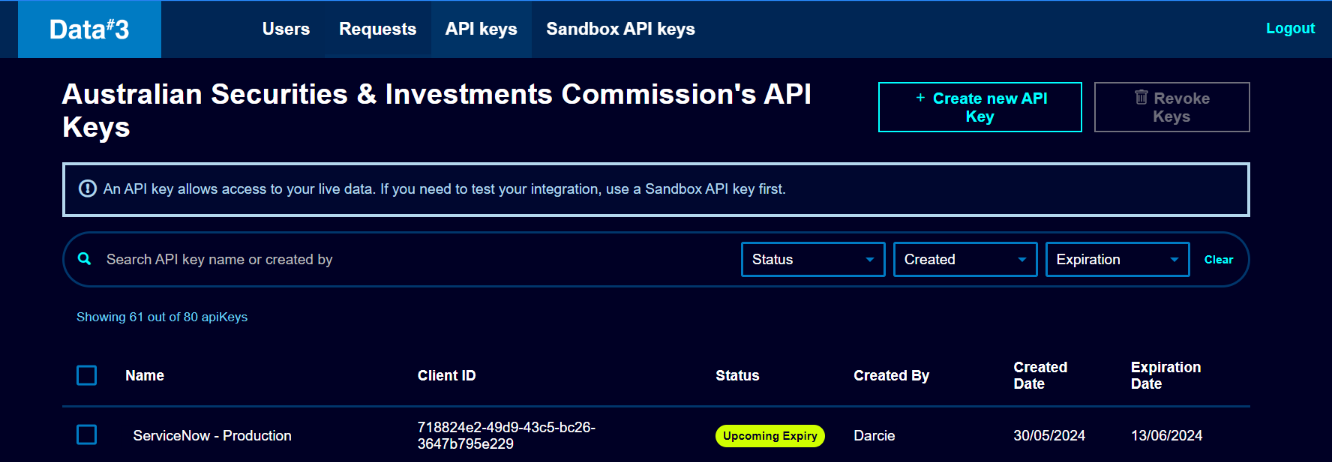
Take note of the expiry date. Your new API key will expire on that date – please ensure that you have a process in place to replace the key before that date in any systems that use it. Data#3 is unable to extend this date or “unexpire” an expired key.
Getting an access token
1. Construct the HTTP Request for Token Retrieval:
Use the following endpoint to request an access token:
POSThttps://myd3identity.b2clogin.com/myd3identity.onmicrosoft.com/B2C_1A_DP_ClientCredentialsFlow/oauth2/v2.0/token
2. Specify Grant Type Scope, Client ID, and Client Secret:
In the request body, include the grant type as "
client_credentials" to indicate the client credential flow.Make sure you include the scope: https://myd3identity.onmicrosoft.com/https://myd3identity.onmicrosoft.com/8ff73c8a-2841-41eb-9a63-c554f17404b4/.default
Include the
client_idandclient_secretvalues for your API key.
4. Send the HTTP Request:
Send a
POSTrequest to the token endpoint with the specified headers and request body.
5. Handle the Response:
Upon successful authentication, the response will include an access token along with other relevant information.
Example HTTP request
Replace the placeholders YOUR_CLIENT_ID and YOUR_CLIENT_SECRET with the actual values provided by the MyD3 Identity Portal.
Example response
Using the Access Token
Any requests to MyD3 APIs should include the value of accessToken in the response in the Authorization header prefixed by “Bearer”.
Authorization: Bearer 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
Please note that accessTokens are valid for 60 minutes only.
API Endpoints and Methods
About the request to the rest API
This section describes the elements that make up an API request:
HTTP method
Path
Headers
Media Types
Parameters
Every request to the REST API includes an HTTP method and a path. Depending on the REST API endpoint, you might also need to specify request headers, authentication information, query parameters, or body parameters.
The REST API reference documentation describes the HTTP method, path, and parameters for every endpoint. It also displays example requests and responses for each endpoint.
HTTP Method
The HTTP method of an endpoint defines the type of action it performs on a given resource. Some common HTTP methods are GET, POST, DELETE, and PATCH. The REST API reference documentation provides the HTTP method for every endpoint.
Where possible, the MyD3 REST APIs strive to use an appropriate HTTP method for each action.
GET: Used for retrieving resources.POST: Used for creating resources.PATCH: Used for updating properties of resources.PUT: Used for replacing resources or collections of resources.DELETE: Used for deleting resources.
Path
Each endpoint has a path. The API Catalogue documentation gives the path for every endpoint.
The curly brackets {} in a path denote path parameters that you need to specify. Path parameters modify the endpoint path and are required in your request. For example, the path parameter for the Customer Invoices endpoint is {invoiceNumber}. To use this path in your API request, replace { invoiceNumber} with the ID of the invoice you are retrieving.
Media Types
Media types specify the format of the data you want to consume from the API. Media types are specific to resources, allowing them to change independently and support formats that other resources don't. The only media type supported by the MyD3 REST API is application/json.
Parameters
Many API methods require or allow you to send additional information in parameters in your request. There are a few different types of parameters: Path parameters, body parameters, and query parameters.
Path parameters
Path parameters modify the endpoint path. These parameters are required in your request.
Query parameters
Query parameters allow you to control what data is returned for a request. These parameters are usually optional. The documentation for each MyD3 REST API endpoint will describe any query parameters that it supports. For more information, see the MyD3 API Catalogue.
Making a request
Choose an endpoint to make a request to. You can explore the MyD3 API Catalogue to discover endpoints that you can use to interact with Data#3.
Identify the HTTP method and path of the endpoint. You will send these with your request.
Identify any required path parameters. Required path parameters appear in curly brackets {} in the path of the endpoint. Replace each parameter placeholder with the desired value.
Using the response
After you make a request, the API will return the response status code, response headers, and potentially a response body.
Every request will return an HTTP status code that indicates the success of the response. For more information about response codes, see the MDN HTTP response status code documentation.
Many endpoints will return a response body. Unless otherwise specified, the response body is in JSON format. Blank fields are included as null instead of being omitted. All timestamps return in UTC time, ISO 8601 format: YYYY-MM-DDTHH:MM:SSZ.
Summary
The MyD3 APIs provide different endpoints depending on the data you want to access. The API calls must include the Authorization header along with a valid access token.
There is an example Postman Collection that can be downloaded here. It can be used to test the request to retrieve the access token and all the requests that can be found in the MyD3's APIs.
Check out Use Cases for potential ways that you can leverage MyD3’s APIs in your organization. You can also explore the API Catalog to discover the full capabilities and detailed information on how to make calls.

All rights reserved © Data#3 Limited